lijinshelf

GUANGDONG LIJIIN STORAGE EQUIPMENT CO.,LTD

Mould Racking

Mould racking is a specialized storage system for molds, dies, and tooling equipment in manufacturing. It's designed to protect, organize, and ensure easy access to these critical tools, commonly used in industries like plastics, metalworking, and die casting to streamline workflow and save space.

Mould Racking

Advantages and features of Mould racking

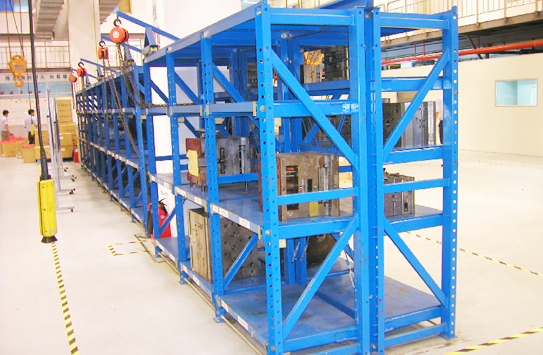
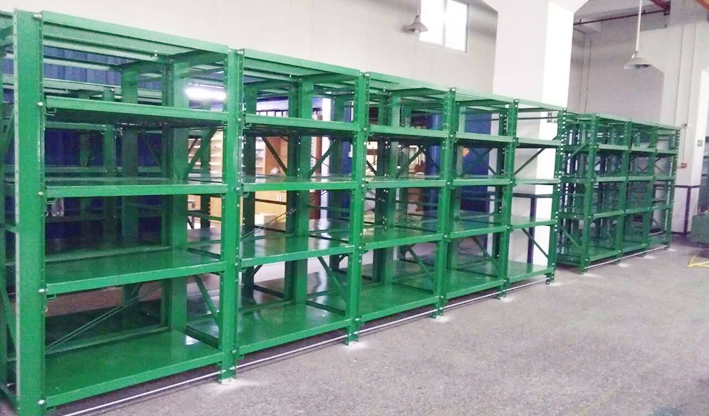
1. Space Optimization: Mould racking systems are designed to maximize vertical storage space, making efficient use of available floor space.
2. Customization: They can be customized to accommodate a variety of mold sizes and weights, ensuring a tailored solution for your specific needs.
3. Easy Accessibility: Mould racks are designed to provide easy and quick access to molds, improving workflow and reducing downtime.
4. Durability: These racks are typically built from robust materials, ensuring the long-term protection and security of valuable molds and tooling equipment.
5. Organization: Mould racking systems help keep molds and dies organized, reducing the risk of damage and making it easier to locate specific tools when needed.
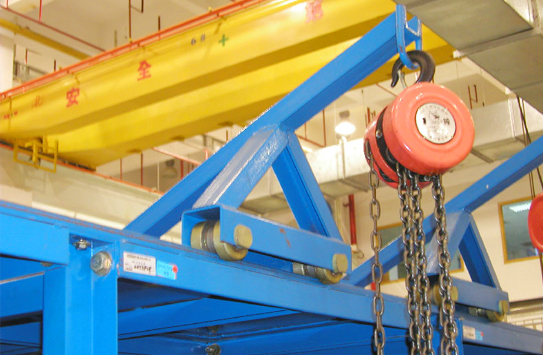
6. Safety: Many mould racks incorporate safety features to protect both the stored equipment and the personnel accessing the molds.
7. Improved Workflow: Mould racks streamline the retrieval and storage of molds, enhancing manufacturing efficiency and reducing operational costs.
8. Versatility: Mould racking can be adapted to various industries, including plastics manufacturing, metalworking, and die casting, making it a versatile solution.
9. Scalability: These systems are often scalable, allowing for easy expansion as storage needs change over time.
10. Cost-Efficiency: Mould racking solutions optimize space and workflow, leading to cost savings and improved productivity.

Why Choose Mould Racking System?

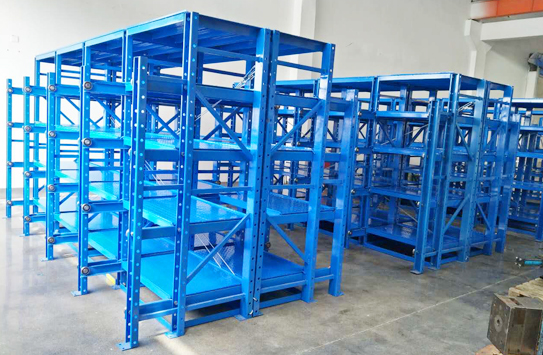
LIJIN specializes in the design, calculation, and manufacturing of various storage systems, ranging from basic solutions to advanced innovations. One of our featured products is the rack system designed for mold/mould storage. The specifications for this system are as follows:

  • Columns: 10# channel steel
  • Diagonal bracing: 25*25 square meters
  • Backing plate: 50*25 angle iron and 2.0mm iron plate
  • Chute: 4.0mm iron plate
  • Bearings: 6403
  • Bearing capacity: 800-1000kg per drawer

Our company prides itself on the ability to create cutting-edge products and structures, and this mold storage rack system is a prime example of our innovative solutions for efficient industrial storage.

Applications for LIJIN Mould Racking

Mould racking is a versatile storage solution for bulky products. Their flexibility and strength make them ideal for the industrial storage of bulky items.
Mould racks are used for storing the following products:

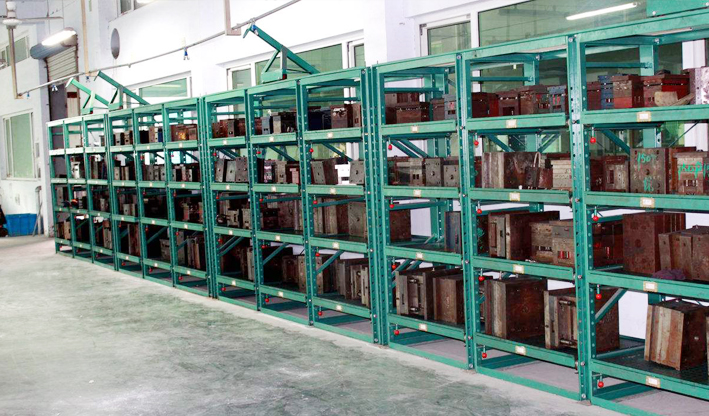
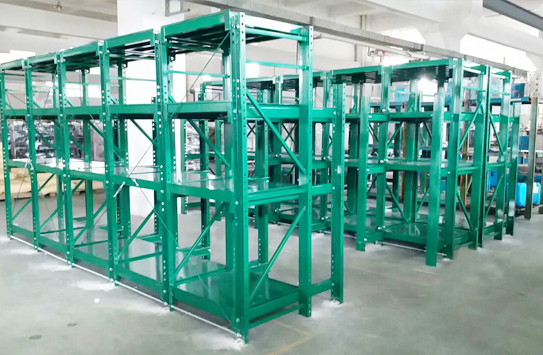
Mould racking finds applications in a wide range of manufacturing facilities, helping with the storage of molds and dies used in different processes.

Custom manufacturers across various industries rely on mould racking to organize and protect specialized molds and tooling.

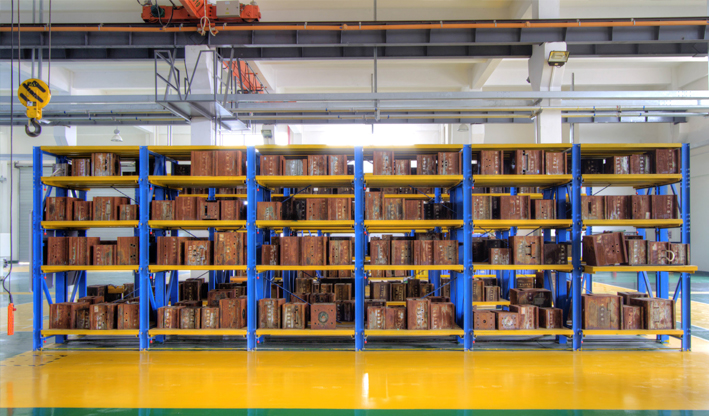
Mould racking is essential in the plastics industry for storing injection molds, extrusion dies, and other tooling equipment, ensuring efficient production processes.

Your Professional Cantilever racking suppliers

1. Warehouse Design layouts & 3D drawings
2. Rack Installation instruction
3. Quality assurancet & Best price
4. Cooperation with us can reduce a lot of time and achieve a win-win goal


Professional and fast Cantilever racking installation tutorials Racking Installation

1. Erect the uprights
2. Insert the rear beams
3. Insert the front beams
4. Measure the square

Erect the uprights: Using the chalk line as your guide, stand one upright on the outer edge and hold it in place. With the help of an assistant, erect the second across from the first. Use a level to check that the uprights are vertical. If they aren’t, place shims underneath the uprights until they are straight. Typically, a slight tilt of no more than 1/8 inch is okay, but check the installation guide for specific instructions from your manufacturer. Anchor the uprights to the floor using the recommended method in your installation guide.


Insert the rear beams: Insert the bottom rear beam first. With the help of your assistant, place the bottom rear beam in the correct slots between the two uprights, and use a mallet to secure it in place gently. If your beams do not use a slotting system, you may need to bolt them to the frame. Repeat this process with the top rear beam. Depending on the height of your uprights and racking system, you might need to use a lifting device to attach the beams and uprights.


Insert the front beams: Once you have installed and secured the two rear beams, it’s time to install the front beams. Start with the top front beam, placing it at the exact level as the top beam at the rear. Secure it like you did the rear beam, then move on to the fourth and final beam installation. Once you have installed all four beams, you have formed your first bay.


Measure the square: Before you move on to the remaining bays, use a tape measure to check that the first bay measures as a square and that all spacing is correct and equal. This is an important step, as it will save you a headache later on when installing your shelving. We will provide installation video and drawings.


Another option for assembling industrial shelving is to let a professional installer help you with your project. lijinrack is ready to respond to your needs.
There are several reasons why this may be a good option for you.
You may lack the time, supplies or available assistance to take on pallet racking assembly on your own.
Or perhaps your pallet racking design may be complex or massive and require a team of professionals to complete the racking installation to perfection.

Inquiry Now!

Describe the project in detail to help us support the project and deliver faster and better.

We will reply within 24 hours.