lijinshelf

GUANGDONG LIJIIN STORAGE EQUIPMENT CO.,LTD

Light Duty Rack

Light Duty Racks offer a versatile, cost-effective, and easily assembled storage solution suitable for organizing lighter loads in diverse settings.

Light Duty Rack

Advantages and features of Light Duty Rack

  • Cost-Effective: They are budget-friendly, making them an economical storage solution.
  • Versatility: Suitable for use in various settings, from homes to warehouses.
  • Adjustable Shelves: Customizable storage space for items of different sizes.
  • Easy Assembly: Tool-free assembly for quick setup and reconfiguration.
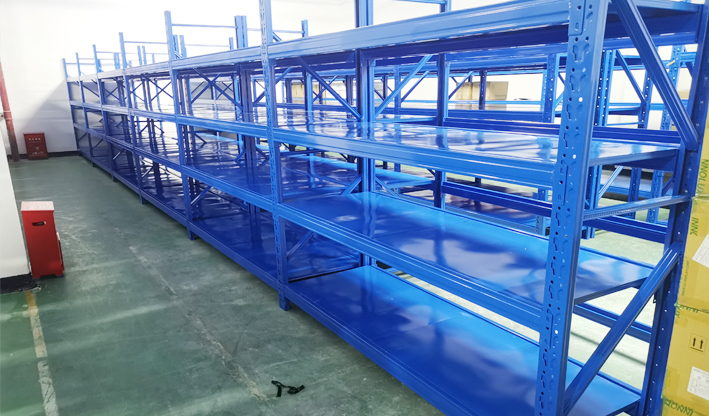
  • Durable Construction: Sturdy materials ensure long-lasting performance.
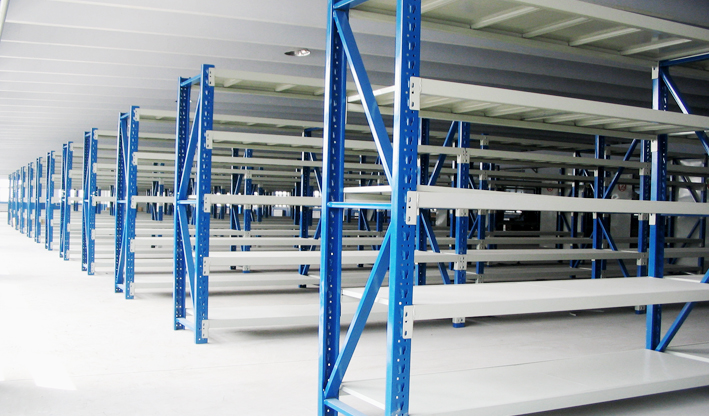
  • Space Optimization: Efficient use of floor space, ideal for compact areas.
  • Light to Medium Load Capacity: Capable of supporting lighter loads and inventory.
  • Powder-Coated Finish: Aesthetic appeal and resistance to corrosion and wear.

Why Choose Light duty rack ?

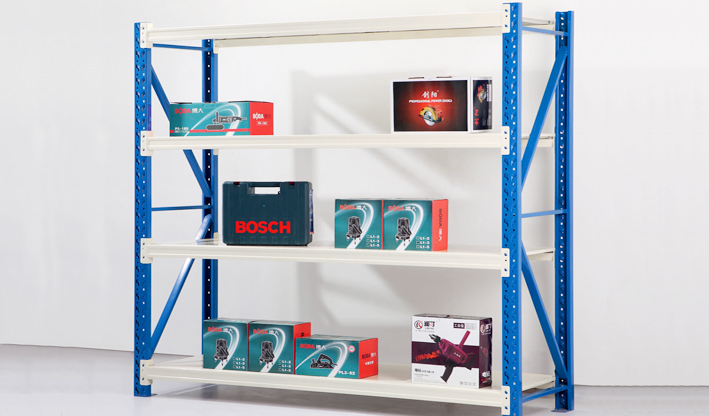
  • Quality and Durability: LIJIN Light Duty Racks are built with high-quality materials to ensure long-lasting durability, providing a reliable storage solution.
  • Customization: These racks often come with adjustable shelves, allowing you to tailor the storage space to accommodate various items.
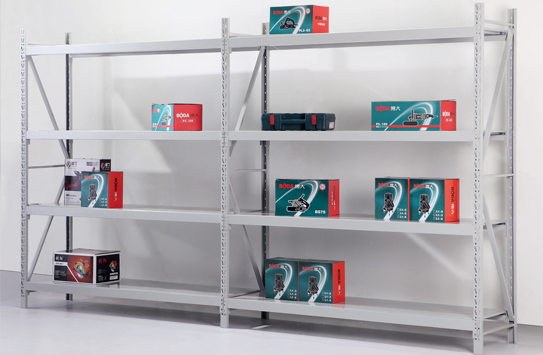
  • Efficient Space Utilization: LIJIN Light Duty Racks are designed to optimize space, making them ideal for smaller or more compact areas.
  • Ease of Assembly: They are typically easy to assemble, offering a convenient and hassle-free setup process.
  • Cost-Effective: LIJIN Light Duty Racks are a budget-friendly option, providing a cost-effective solution for your storage needs.
  • Versatility: Suitable for various environments, including homes, offices, and retail settings, making them a versatile choice.
  • Optional Accessories: LIJIN may offer additional accessories and options to enhance organization and meet specific storage requirements.

Applications for LIJIN Light duty rack

LIJIN Light Duty Racks are versatile and suitable for a wide range of applications. Some common applications include:

Light duty rack


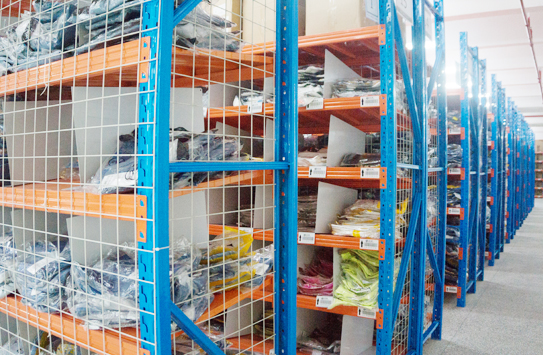
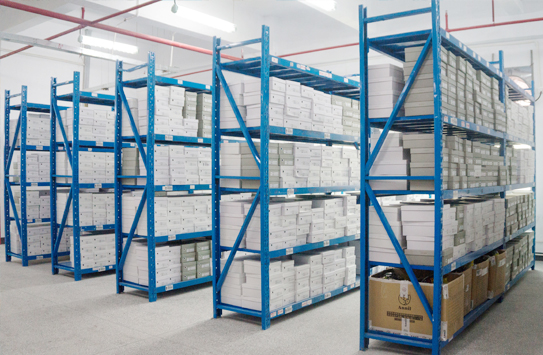
Used for storing lighter inventory, spare parts, and tools, improving warehouse organization and accessibility.

Racking

Useful for organizing small components, parts, and inventory in production areas.

Ideal for storing classroom supplies, textbooks, and educational materials.

Your Professional Cantilever racking suppliers

1. Warehouse Design layouts & 3D drawings
2. Rack Installation instruction
3. Quality assurancet & Best price
4. Cooperation with us can reduce a lot of time and achieve a win-win goal


Professional and fast Cantilever racking installation tutorials Racking Installation

1. Erect the uprights
2. Insert the rear beams
3. Insert the front beams
4. Measure the square

Erect the uprights: Using the chalk line as your guide, stand one upright on the outer edge and hold it in place. With the help of an assistant, erect the second across from the first. Use a level to check that the uprights are vertical. If they aren’t, place shims underneath the uprights until they are straight. Typically, a slight tilt of no more than 1/8 inch is okay, but check the installation guide for specific instructions from your manufacturer. Anchor the uprights to the floor using the recommended method in your installation guide.


Insert the rear beams: Insert the bottom rear beam first. With the help of your assistant, place the bottom rear beam in the correct slots between the two uprights, and use a mallet to secure it in place gently. If your beams do not use a slotting system, you may need to bolt them to the frame. Repeat this process with the top rear beam. Depending on the height of your uprights and racking system, you might need to use a lifting device to attach the beams and uprights.


Insert the front beams: Once you have installed and secured the two rear beams, it’s time to install the front beams. Start with the top front beam, placing it at the exact level as the top beam at the rear. Secure it like you did the rear beam, then move on to the fourth and final beam installation. Once you have installed all four beams, you have formed your first bay.


Measure the square: Before you move on to the remaining bays, use a tape measure to check that the first bay measures as a square and that all spacing is correct and equal. This is an important step, as it will save you a headache later on when installing your shelving. We will provide installation video and drawings.


Another option for assembling industrial racks is to have professional installation personnel assist you in completing the project. LIJINRACK is ready to respond to your needs at any time. There are several reasons why this may be a good choice for you. You may lack the time, resources, or available assistance to undertake pallet rack assembly on your own. Alternatively, your pallet rack design may be complex or extensive, requiring a professional team to ensure a perfect rack installation.

Inquiry Now!

Describe the project in detail to help us support the project and deliver faster and better.

We will reply within 24 hours.