
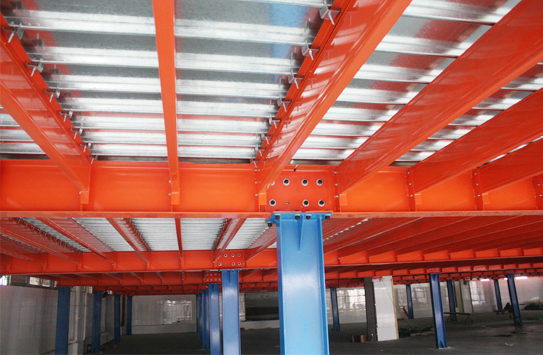

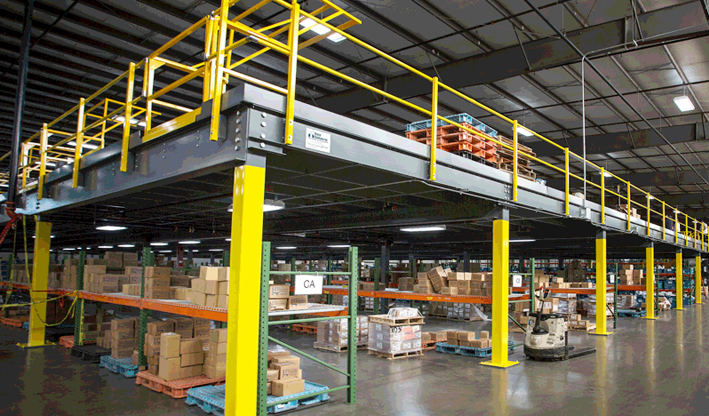
Mezzanine Connecting uprights and main beams, both made of sturdy H-steel, ensures high loading capacity and long spans. For increased stability, major beams are connected via connectors on each side. Support beams and main beams are linked using hanging pieces, welded to the main beams for added stability. Steel panels are securely attached to support beams using hooks, ensuring stability. Guardrails hang on the main beams without creating holes, preserving beam integrity.


- Space Optimization: LIJIN’s Mezzanine Floor System maximizes vertical space, effectively doubling your usable floor area without the need for expensive construction.
- Customization: The system is highly customizable, allowing you to design and adapt the mezzanine to meet your specific space and storage requirements.
- Cost-Efficiency: By utilizing existing vertical space, you can avoid the costs associated with expanding or relocating to a larger facility.
- Quick Installation: LIJIN’s expert installation team can efficiently set up the mezzanine floor, minimizing disruption to your operations.
- Strength and Durability: The system is built with high-quality materials, ensuring it can support heavy loads and withstand the test of time.
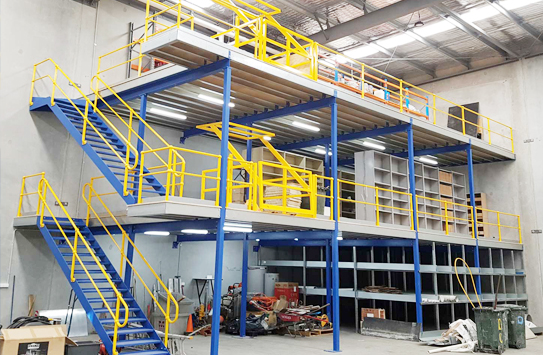
- Safety: LIJIN prioritizes safety, offering various safety features such as handrails, gates, and non-slip surfaces to protect your personnel and products.
- Versatility: Mezzanine floors from LIJIN can be used for storage, offices, showrooms, or any other purpose, making them versatile for various industries.
- Aesthetic Appeal: The system’s modern and clean design can enhance the aesthetics of your space.

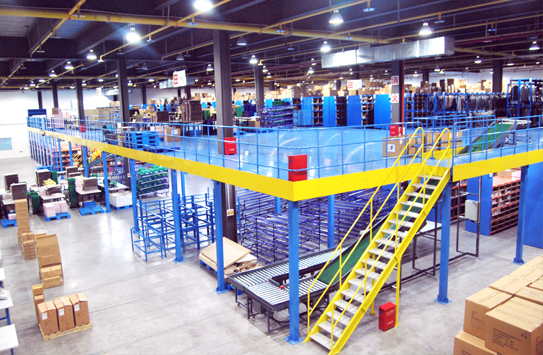
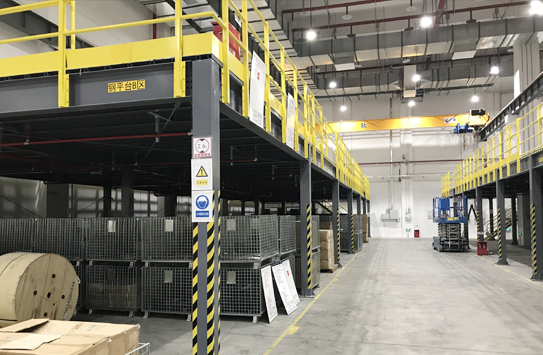
Mezzanine floors are commonly used in warehouses to increase storage capacity. They provide additional levels for storing inventory, optimizing space.
Retail stores can use mezzanines to create additional display areas, storage space, or even small offices without expanding the floor area.
Mezzanine floors can be used for creating elevated production or assembly areas, enabling efficient use of vertical space.